Animation
How a 3D product animation is made, and how long it takes
What happens between a CAD file and a finished product film, which stages take the time, and why rendering is almost never what holds the schedule up.
8 min read
Animation
What happens between a CAD file and a finished product film, which stages take the time, and why rendering is almost never what holds the schedule up.
Search for how a 3D animation is made and you will find the same ten stages every time: script, storyboard, modelling, rigging, texturing, animation, rendering, compositing. That list is accurate, and it describes a different job from the one a product film is. It was written for characters, and a product does not have a skeleton, a performance or a face.
This is what actually happens when a product is animated, which parts of the calendar each stage takes, and why the render is rarely what anyone is waiting for.
Shorter than most people expect. Across the sixteen finished films in our portfolio, ten run under thirty seconds. The median is twenty-seven seconds. The longest, a full flat-pack build sequence for a sit-stand desk, runs 2:14, and it is long because it is genuinely instructional rather than because length was the goal.
That range is not one format. A launch film introducing a platform at a trade show ran 1:23. A retail listing cut for a desktop organiser ran 0:28. An early prototype study, made to find out whether the proportions read correctly before anything was committed to metal, ran 0:21. Same pipeline, wildly different briefs, and the brief is what sets the length.
Worth deciding early, because the length multiplies everything downstream. At 24 frames per second, which is Blender’s default and the rate thirteen of our sixteen films use, thirty seconds is 720 individual images. Every decision made about how a single frame is built gets paid for 720 times.
The largest stage on that generic list, rigging, mostly does not apply.
Rigging as the word is normally used exists to deform a surface. A character’s arm bends and the skin around the elbow has to follow, which is why the standard workflow is control rigs, weight painting and corrective shapes. A product does not deform. A drawer slides, a lid hinges, a panel detaches. Those parts move relative to one another while staying rigid.
Blender’s own documentation draws the line cleanly. Parenting an object to a bone is one method, and of it the manual says the children “are never deformed when using this method”, as distinct from the armature modifier, which is “the only way to really deform the geometry of the object”. Product work lives almost entirely in the first category.
What replaces the missing half is a different feature set rather than a simpler one. Object constraints control position and rotation, and each carries an influence value that can be keyframed, so a constraint can be switched on partway through a shot. A lid that opens to a stop is a rotation limit rather than an animator remembering where to stop. A camera arc is usually a path with a tracking constraint attached, a pairing the manual describes for exactly this, listing “cameras on rails, vehicles on roads, boxes on conveyor belts” among its use cases. An exploded view is normally one custom property driving every part’s offset along its own installation axis, so the whole assembly opens and closes from a single value.
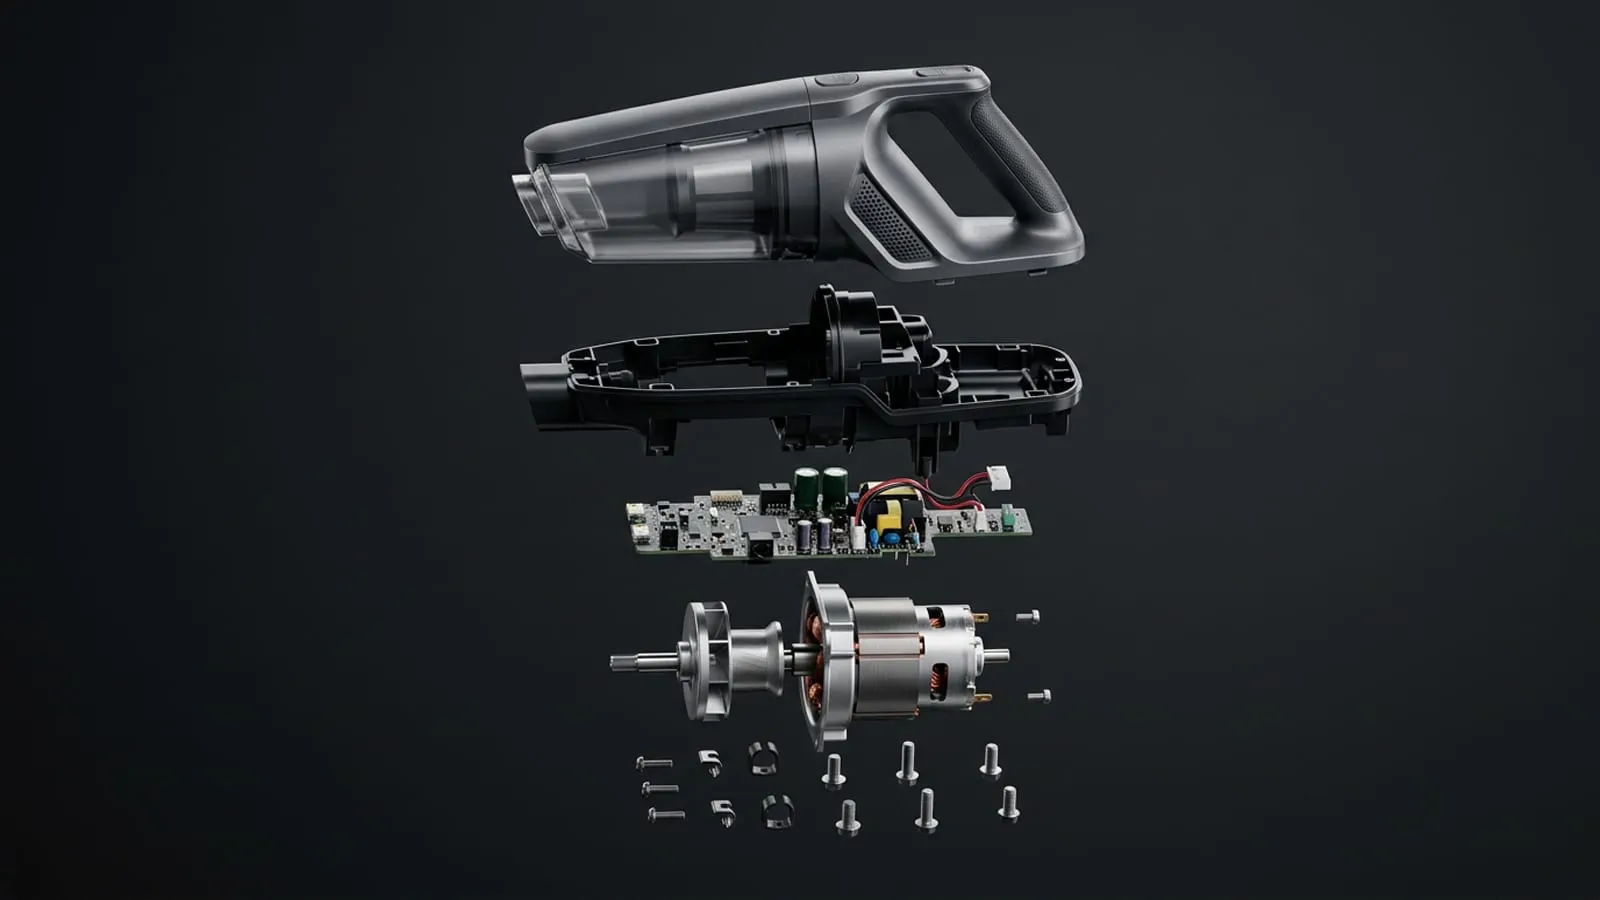
Two stages appear that the generic list does not mention at all. The first is getting the CAD in. Blender ships no native support for engineering formats: its import list covers Alembic, USD, OBJ, PLY, STL and FBX, and STEP is not among them, so it arrives through an add-on and then needs converting to polygons. How finely is a judgement made against the closest the camera ever gets, which is a decision we have written about separately in what a CAD file needs before rendering.
The second is the animatic: a rough, unlit version cut to length before anything is textured. It looks unfinished on purpose. It is the cheapest place in the whole project to change your mind, and every hour spent there is an hour not spent re-rendering a decision that could have been made for free.
There is no honest single answer, so here is the shape instead.
The stages that consume the most attended human time are, in order, look development and lighting, then animation and camera work, then the edit. The final render is the shortest attended stage in the project and mostly runs unattended overnight. The test renders before it cost considerably more, because somebody has to watch each one, decide what is wrong and change it.
Elapsed calendar time is a different quantity from attended time, and the gap between them is almost entirely waiting. Waiting for geometry, for artwork, for a decision on which of two camera moves to keep. On a stills project a late file delays one stage. On a film it delays everything behind it, because animation cannot be blocked against geometry that is still being rebuilt, and lighting cannot be finished against animation that has not been approved. That compounding is the single biggest difference between quoting a set of images and quoting a film.

Almost never, and for a structural reason rather than a rhetorical one.
Rendering is the stage that needs the least of anyone’s attention, and the only one you can meaningfully buy your way out of by adding machines. Render an image sequence rather than a video file and the job resumes where it stopped, because Blender skips frames that already exist when the overwrite option is off. Blender recommends this approach outright once total render time passes an hour. Nothing else in the pipeline behaves that way. You cannot split a lighting decision across four computers.
What makes a single frame expensive is worth understanding, because it is where a schedule is actually set. Cycles traces light paths and stops when it has gathered enough samples, defaulting to a ceiling of 4096, with a total of twelve bounces inside which diffuse and glossy are each capped at four and transmission at twelve. That last number is why glass, bottles and clear plastic cost more than anything else on a product: light entering a transparent object bounces many more times before it resolves.
We use more than one, and the choice is a scheduling decision as much as a visual one.
Blender’s two renderers work in genuinely different ways. Cycles is a path tracer and is physically accurate by default. EEVEE is a rasteriser, and while it was rewritten in Blender 4.2 into something far more capable than its reputation suggests, the manual still publishes a limitations list that reads like a description of hard product subjects: anisotropy is not supported, only one refraction event is modelled correctly, and reflections are screen-space, meaning the engine can only reflect what is already visible in frame. For a matte product that rarely matters. For a chrome kettle reflecting a set that is mostly out of shot, it matters in motion, because the error moves as the camera moves.
Real-time engines are the other branch, and they change the deliverable rather than just the render time. Baking the lighting means there is no render queue at all, which is what makes an interior walkthrough something a client can navigate themselves rather than watch. That is a different product, and it is why the answer to “which engine” is usually decided by what the film has to do rather than by preference.
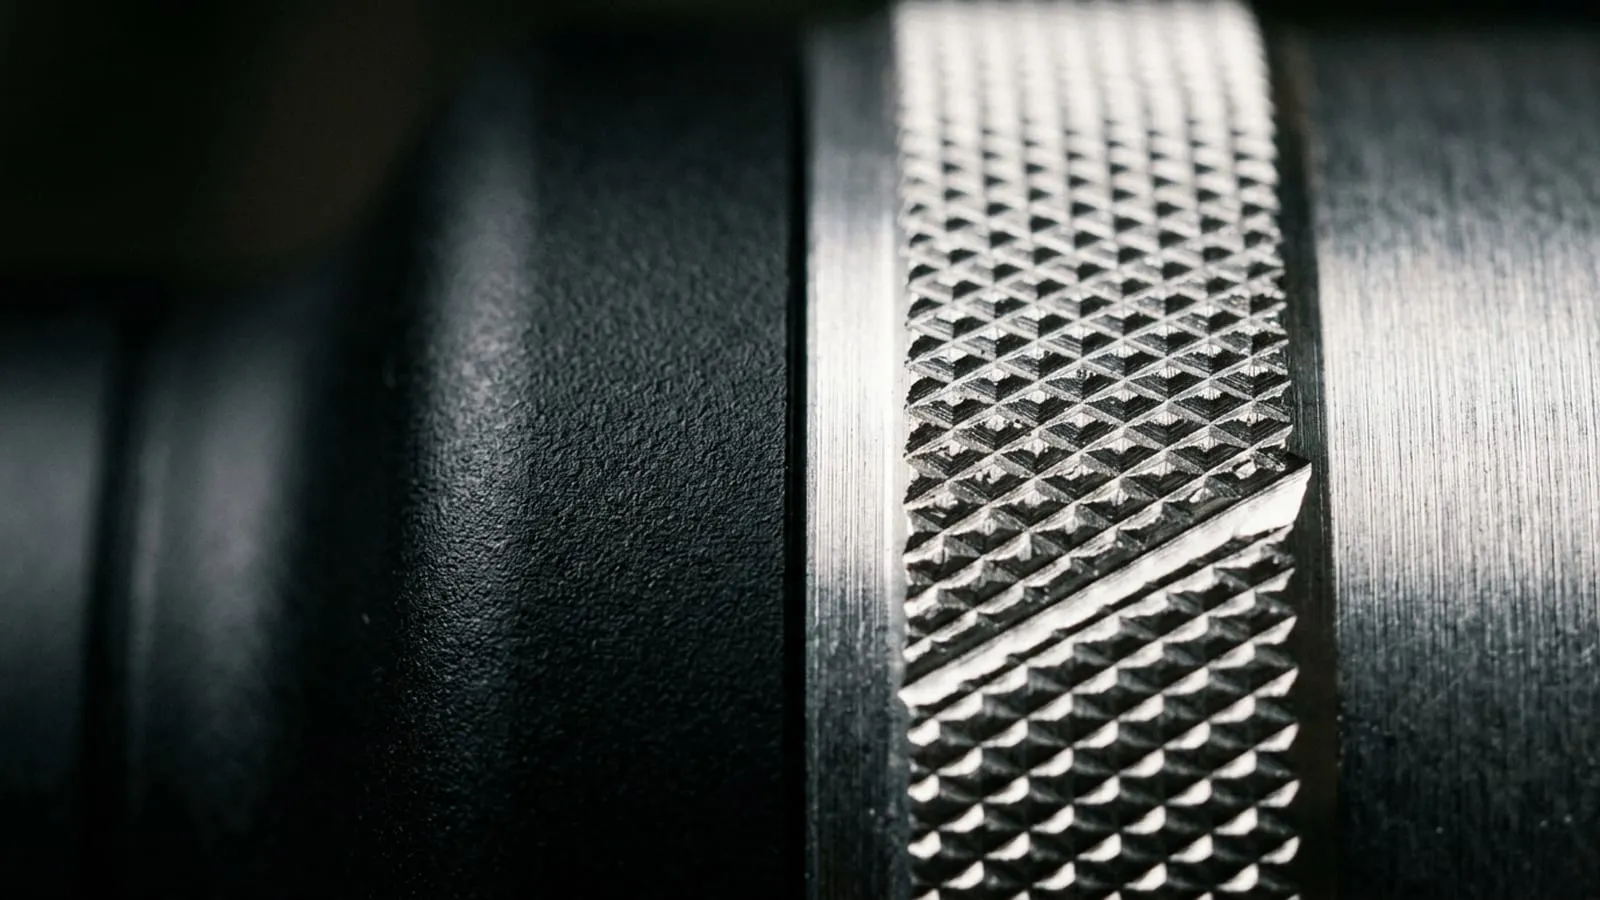
One detail that punches above its weight regardless of engine: the view transform. Blender 4.2 added Khronos PBR Neutral, a transform designed specifically for product visualisation, which preserves a material’s colour rather than rolling off saturated highlights the way a filmic curve does. If a client’s brand red has ever come back looking slightly wrong, this is usually the reason.
A product film is a mechanical and editorial job rather than a character one. Most of what the generic pipeline calls rigging does not apply, and two stages it never mentions, getting the CAD in and cutting an animatic, decide most of the outcome. The render is the part that needs the least attention and the least of your patience. The calendar is set by how quickly geometry, artwork and decisions arrive, because on a film every delay compounds down the chain.
Two things worth asking any supplier, including us. Ask for the stage-by-stage breakdown underneath whatever single duration you are quoted, because a number with no shape behind it is a guess. And ask what happens to the schedule if the product changes after animation has started, because that answer tells you whether they have done this before.
If you have a product and a launch date, tell us what you are building and we will come back with a shot list and a date.
Send us your CAD files, a sketch, or just a description of what you are building, and tell us how far you need it taken. We come back with a fixed quote and a date.